
With our move on the horizon and dreams of a thriving kitchen garden taking shape, I’ve been inspired to start small this spring. After a little bit of research, I discovered that learning how to grow sprouts at home is the perfect way to begin. It’s a simple and satisfying practice that brings versatile, nutrient-rich fresh greens right to your countertop — no backyard required. Whether you’re in a house or an apartment, this easy project is a lovely first step into homegrown living.
What are Seed Sprouts?
Seed sprouts are the early growth stage of seeds, beans, or grains—just before they become full plants or even microgreens. When soaked in water and left to germinate in a warm environment, these seeds begin to sprout small roots and shoots.
The best part? Growing sprouts indoors requires no soil, making it ideal for apartment dwellers or those short on space.
Why You Should Try Seed Sprouting at Home
Sprouting isn’t just fun—it’s packed with health benefits and surprisingly cost-effective.
Nutritional Benefits of Seed Sprouts:
- Sulforaphane, a powerful antioxidant found in broccoli sprouts, has anti-inflammatory and anti-cancer properties. A 2021 journal reported that broccoli sprouts contain 10–100 times higher levels of sulforaphane than fully grown broccoli plants!
- Homegrown sprouts can contain up to 100x more sulforaphane than mature vegetables.
- Sprouts are full of vitamins, minerals, and plant compounds that support a healthy gut and immune system.
Cost Savings:
- Store-bought microgreens and sprouts can be pricey. Sprouting seeds at home is significantly more affordable over time.
Food Safety Tip:
Because sprouts grow in moist, warm conditions, sprouts do have a risk of carrying foodborne illnesses like E. Coli and salmonella. To keep your sprouts safe:
- Sanitize your seeds before soaking.
- Rinse regularly.
- Store in the refrigerator after harvest.
- Cook before eating if concerned about raw consumption.
Best Seeds for Sprouting
I opted for a mixed sprouting seed blend featuring broccoli, radish, clover, and alfalfa. This spicy, diverse mix aligned perfectly with Dr. Tim Spector’s “30 plants a week” philosophy, which emphasizes gut diversity through plant variety.
You can also try:
- Mung beans
- Lentils
- Fenugreek
- Sunflower seeds
- Mustard greens
Look for organic sprouting seeds for the highest safety and quality.
Tools You’ll Need to Start Sprouting Seeds at Home
No green thumb required! Here’s what you’ll need:
- Lemon Juice (for sanitizing process)
- Access to water (like your kitchen sink)
- Seed Sprouting Kit
- Seed Mix (like this one)
- Medium Bowl
- Paper Towel
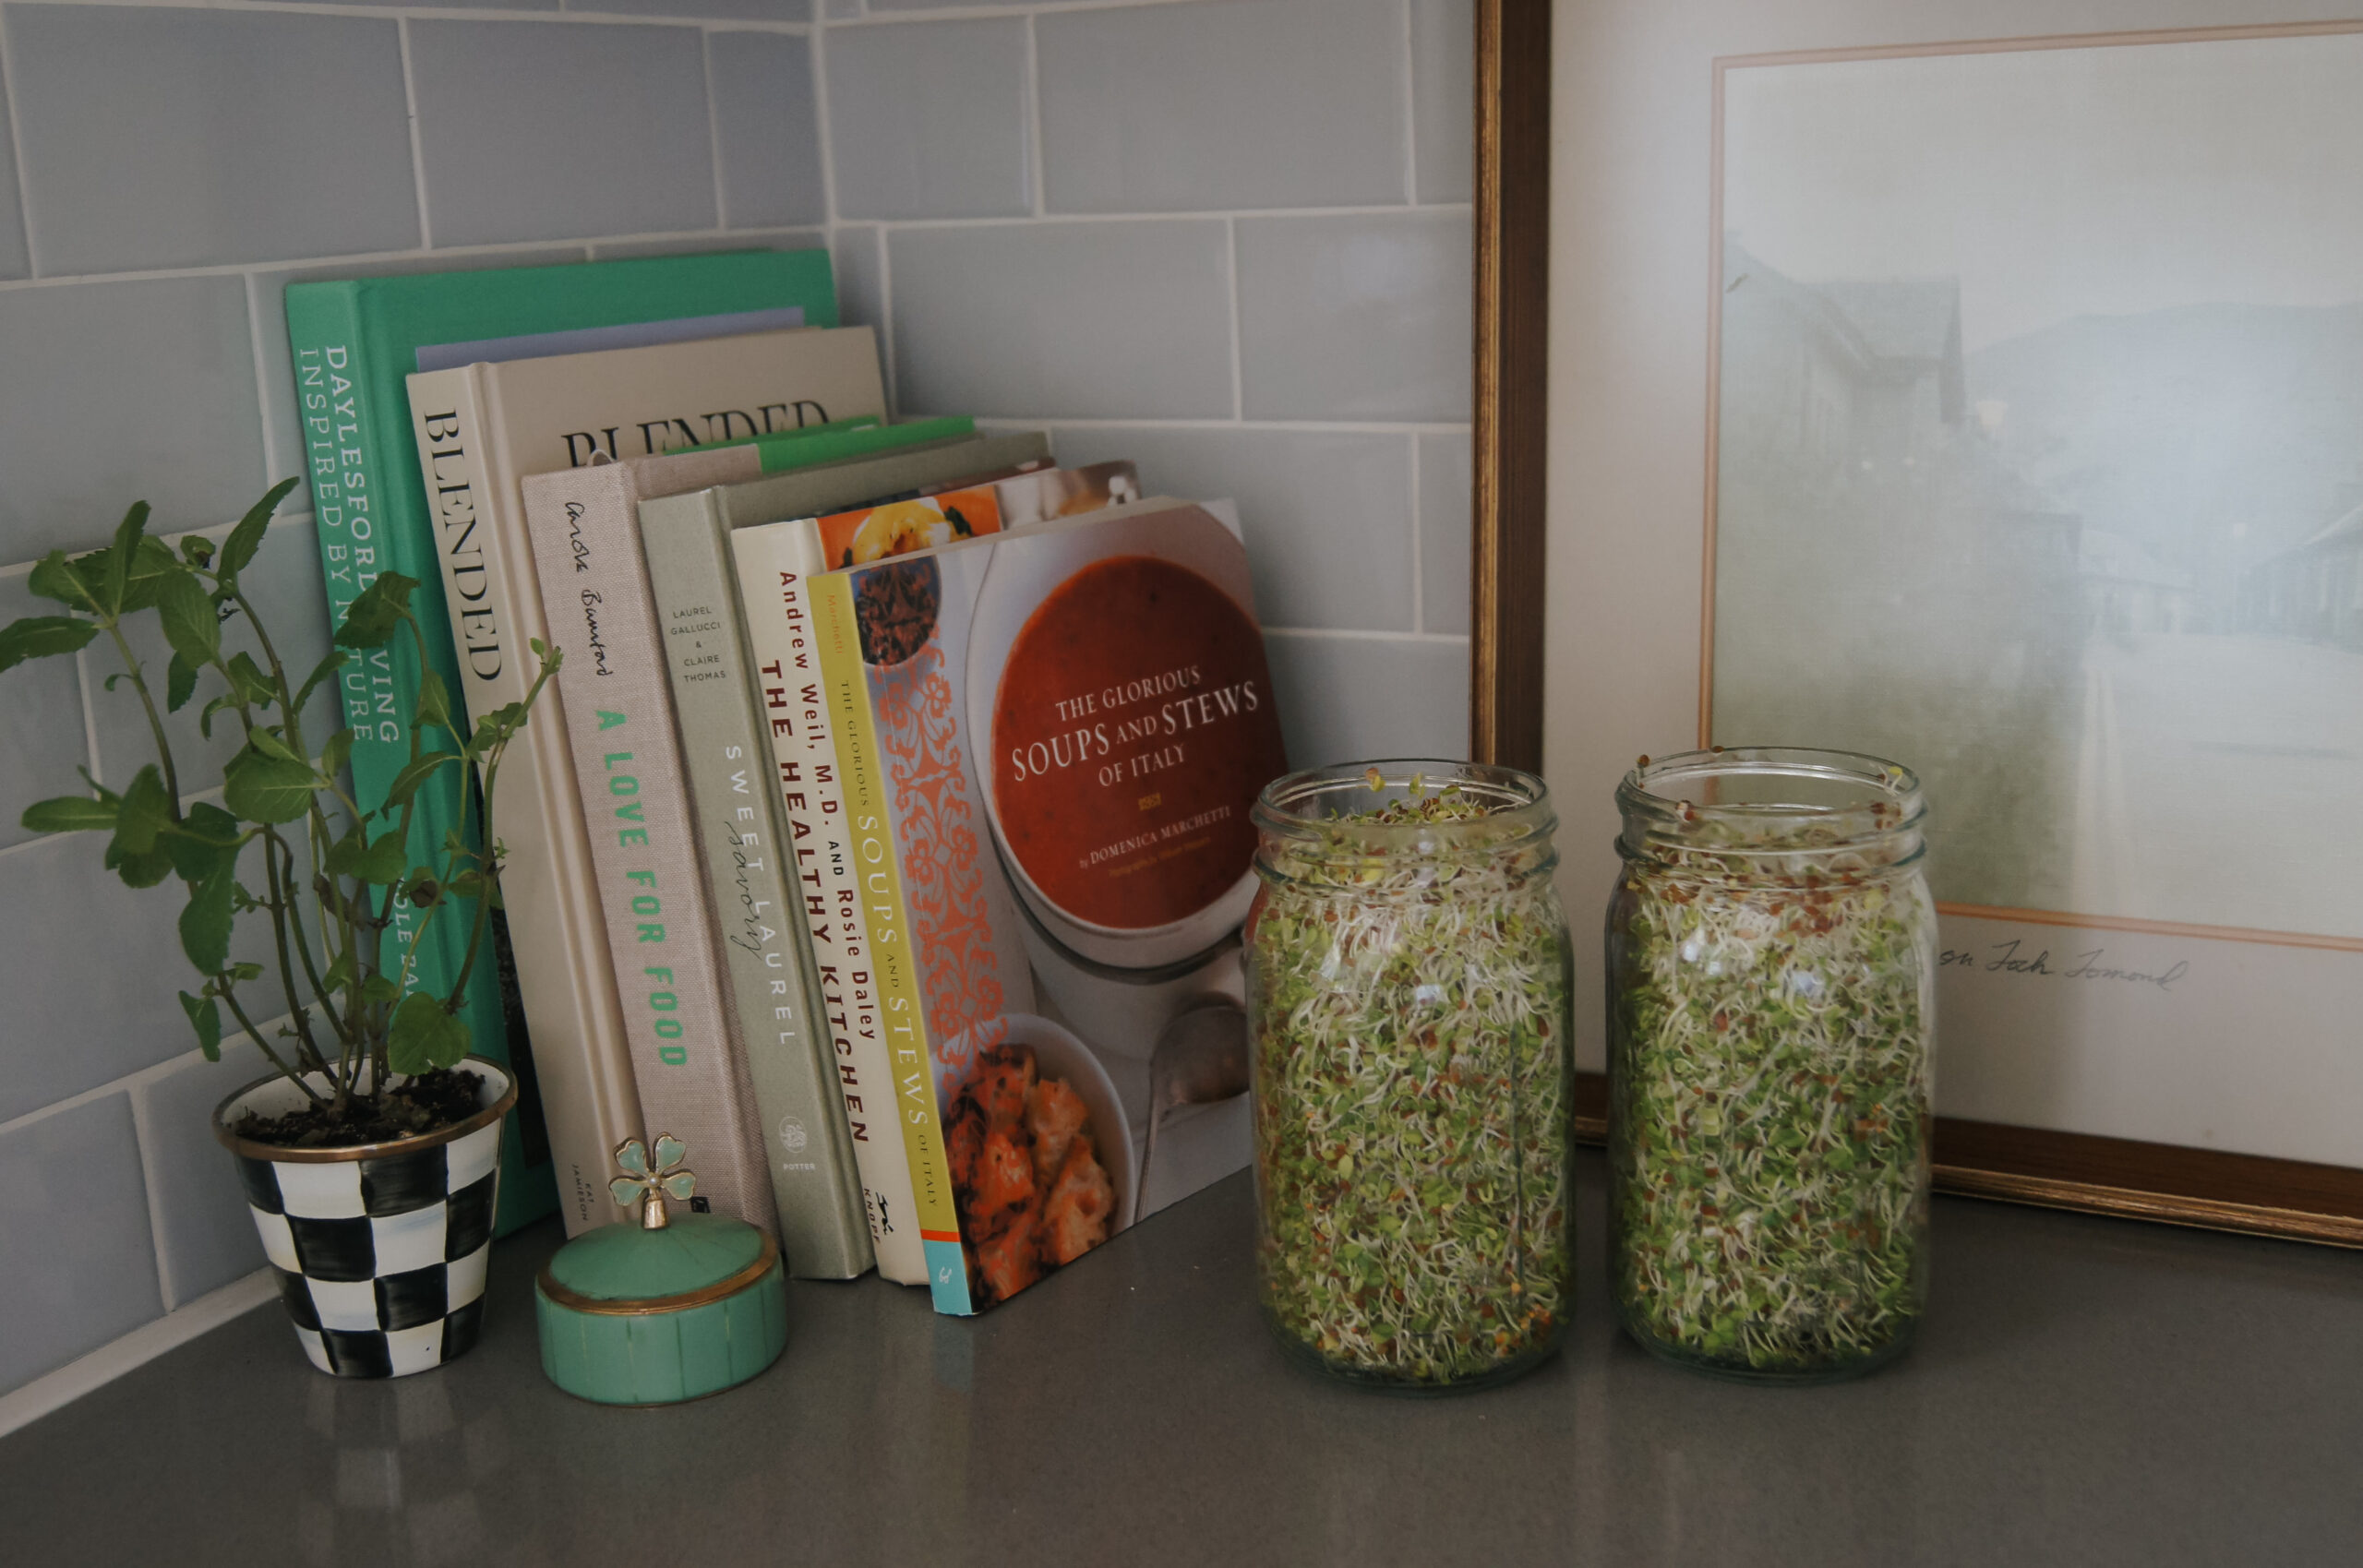
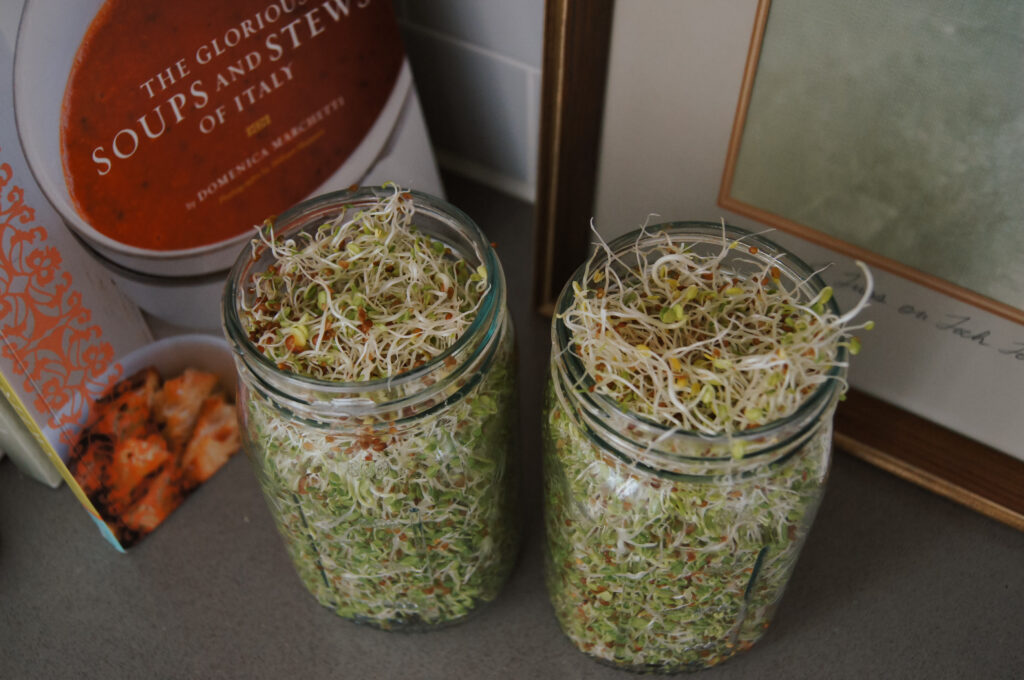
- Mason jar or glass container (for storing your sprouts)
- Refrigerator (for storing your sprouts)
Step-by-Step: How to Grow Sprouts at Home

Here’s a simple guide on how to grow sprouts at home:
- Sanitize your sprouts with a 10% lemon juice solution. Mix 1 part lemon juice with 10 parts water. Add your seeds to the solution and soak for 15 minutes to sanitize. Drain and rinse the solution from your seeds.
- Soak your seeds. Add 1-2 tablespoons of your seed mix to mason jars included in your seed sprouting kit. Fill your mason jar with water about halfway, and give your seeds a mix, and put the lid on the jar. Set the jar standing up and allow your seeds to soak overnight.
- Rinse your seeds. Drain off the water that the seeds soaked in overnight. Add new water to the jar to rinse the seeds and drain the water off through the mesh lid (again, found in your seed sprouting kit). Repeat this process several times and set the jar on the stand found in your sprouting kit with the lid facing downwards. This will ensure that any excess water drains off from the seeds.
- Rinse and repeat. Repeat the rinsing and draining process every 8-12 hours. Days until harvest depends on what type of seeds you are sprouting – my mix took about 5 days until harvest.
- Harvest your seeds! Remove your sprouts from the mason jar and place them in a clean bowl. Add water to the bowl to cover the sprouts and rinse rinse your sprouts one final time. Remove any leftover seeds or seed hulls, and drain off water. Pat your seeds completely dry with a paper towel.
- Store your seeds. Place your sprouts in a clean mason jar or glass container and store refrigerated. In my experience, they maintain their freshness for about a week. Enjoy!
How to Use Homegrown Sprouts in Your Cooking
Homegrown sprouts are nutrient-rich and versatile! Try them:
- Sautéed and served on avocado toast (I love pairing with over-hard eggs and quinoa for a gluten-free breakfast bowl)
- As a garnish for soups, stews, or grain bowls
- Blended into green smoothies for added fiber
- Tossed into pasta dishes or pesto—they’re especially delicious in my my favorite pistachio pesto recipe
Why I Love Seed Sprouting
There’s something incredibly grounding about nurturing something from seed, even when it’s just on your kitchen counter. Learning how to grow sprouts at home is an easy, low-effort way to step into seasonal living and connect with your food. And for me, it was a gentle nudge toward the kitchen garden I hope to grow in the near future.
If you try this DIY sprouting project, I’d love to hear how you use your homegrown sprouts!


→
JOIN THE LIST


Subscribe to Today's Harvest by Elmsgrove Lane on Substack.
